
Picot Stitch Crochet
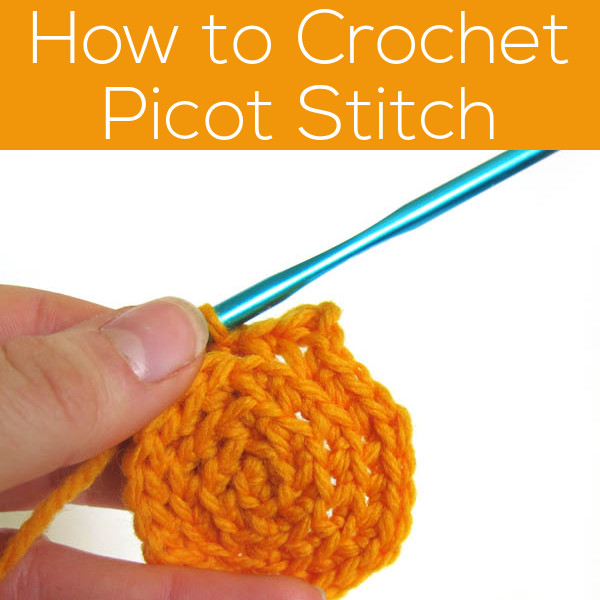
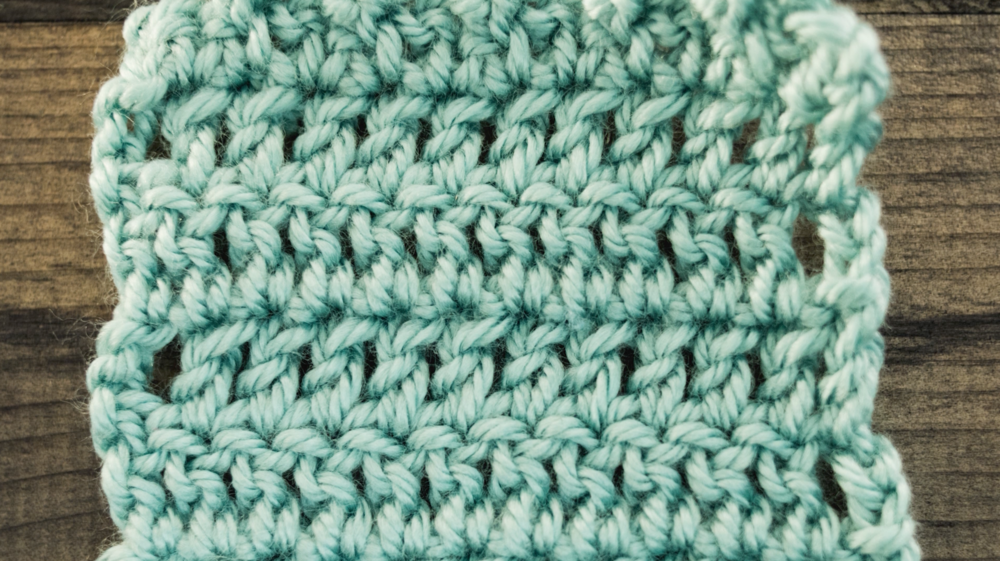
How to Crochet the Picot Stitch: For the first version, chain 3 and insert the hook back through the center of the precious stitch, yarn over, and slip stitch. This creates a wider looking picot that's firmly attached to your project. This version is great for blankets, washcloths, and other items that will get a lot of handling.

How to Crochet the Picot Stitch CrochetN'Crafts
Learn how to crochet the quirky and bobbl-icious "Picot Single Crochet" with this easy to follow video tutorial!Written instructions for this stitch pattern,.
Crochet Picot Stitch Tutorial With Variations and Patterns Craftsy
The picot stitch is worked by chaining the number called for in the pattern (usually 3) and then working a slip stitch or single crochet into the chain closest to the work. How do you crochet a 3 chain picot? The picot stitch is so easy a beginner could master it.
Crochet Picot Stitch Tutorial With Variations and Patterns Craftsy
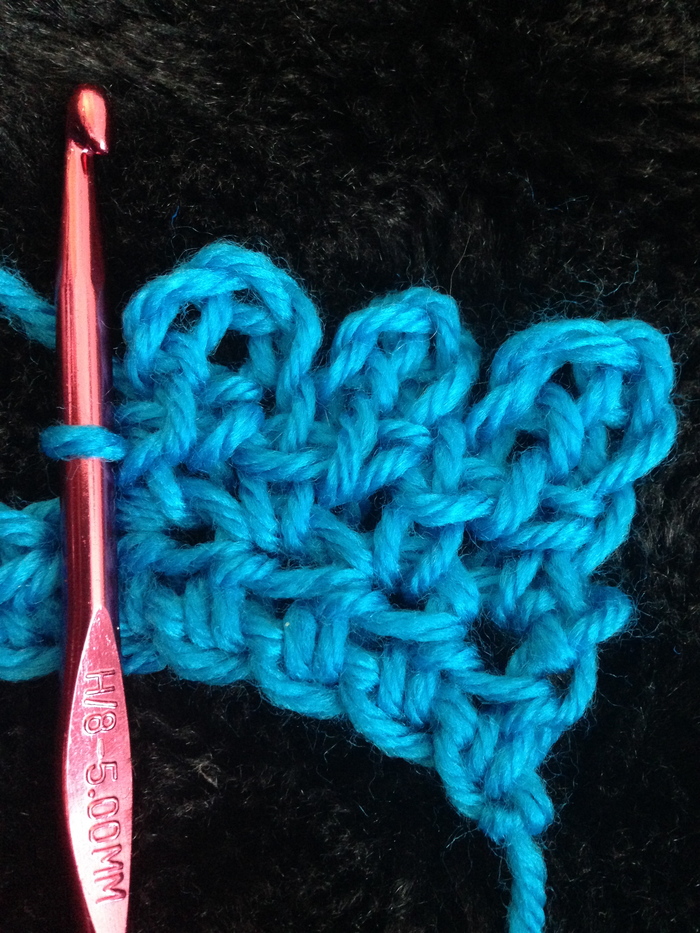
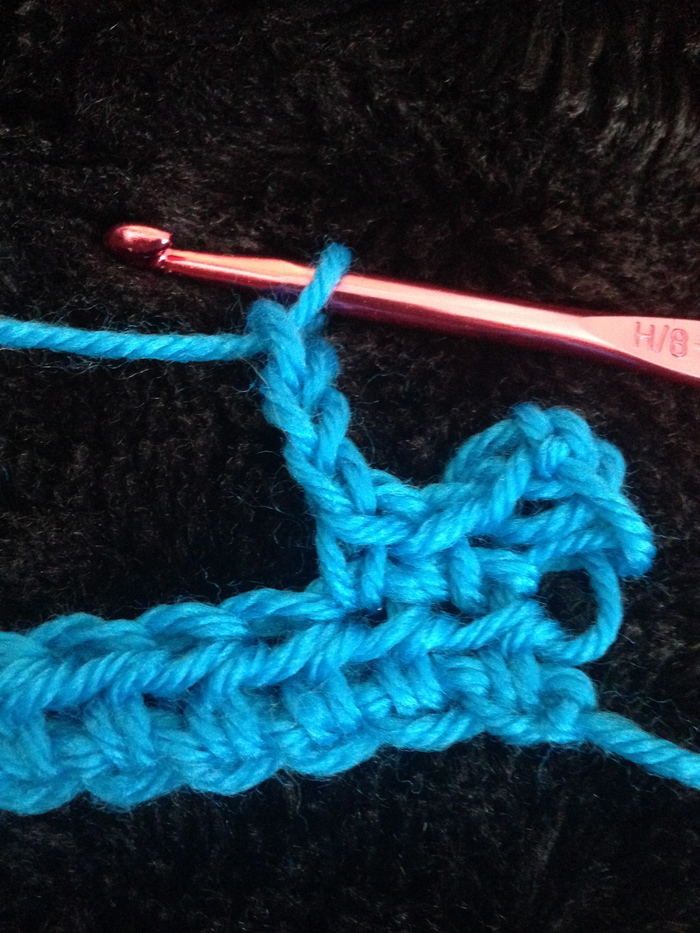
Picot Single Crochet: Step 1: Insert hook into indicated stitch, yarn over (YO) hook and pull through stitch. Step 2: YO and pull through one loop on the hook three times. (This creates the chain 3 that will become your picot) Step 3: YO and pull through both loops on the hook.

How to Crochet Picot Stitches Tutorial WoolnHook by Leonie
There are two easy ways to crochet picot stitches - if your pattern doesn't specify, use whichever kind looks best! For more video tutorials and free crochet.

How to Crochet Picot Stitches Tutorial WoolnHook by Leonie
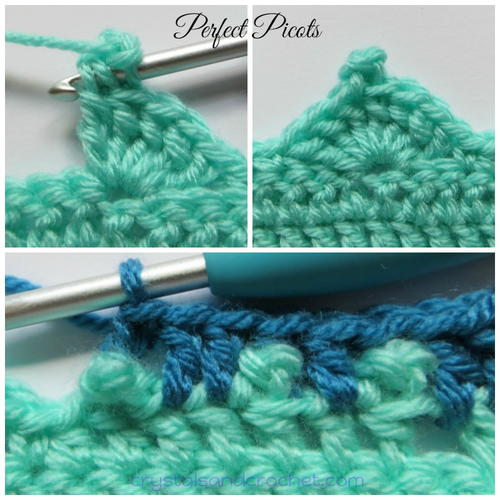
The picot stitch is simply a series of chains that are looped into a point with a slip stitch. Personally, I like to make mine with three chains and then working a slip stitch into the third chain from hook. But you can do more or less, whatever you like. Thus, you can crochet a fairly solid fabric or a beautiful lacy fabric.

How to Crochet Picot Stitches Tutorial WoolnHook by Leonie
picot=ch 3, sl st back to first ch. The picot stitch can also be used with a different number of chains, for a different look. Your pattern will tell you the specifics. You can use picot stitch after a single crochet, a double crochet, or really any stitch. Again look to your pattern for the details.
How to Crochet a Picot Stitch Shiny Happy World
The picot stitch is a simple, effective way to add just a little something extra to your crochet. Follow along in this tutorial to learn how to make this eas.
Crocheting a Picot Stitch
Crochet picot stitch is a pretty little bumpy stitch that is most often used for edgings and borders. It has a way of finishing off any crochet item in an elegant manner. It is a super easy, fun stitch to do, and definitely completes your crochet work with a stylish look. Crochet Picot Stitch Crochet Picot Stitch Tutorial Materials

Crochet Picot Stitch Easy Tutorial for Beginners TREASURIE
To make a picot stitch: 1. Chain three. 2. Insert hook into back of first chain made. (the one at the bottom, closest to the work) 3. Make a slip stitch OR a single crochet. That's it! The difference between the slip stitch and the single crochet is how pointy you want the picot to be.

Crochet Picot Stitch Tutorial With Variations and Patterns Crochet patterns for beginners
Single crochet in the first 2 stitches, chain 3. Slip stitch in the top of the sc that's just before the chain 3. Single crochet in the next stitch. Continue this pattern to the end of the row. The last stitch should be a single crochet. A complete row of alternating picots and single crochets.

Tutorial Picot Two Ways Crochet tutorial, Crochet stitches tutorial, Crochet edging
Row One: You will want to have a foundation row of stitches when working the picot as an edging. I will work my picots out of the tops of a single crochet. To start, *sc in the next st, ch 3, sl st into the 3rd ch from your hook, sc in the next st: Rpt from * across. The act of working a ch-3 and then slip stitching back into the 3rd ch from.
How to Crochet a Picot Stitch LeftHanded Tutorial
Picot Stitch Appearance in pattern - p Picots are created by chaining the number of stitches called for in the pattern and then working a slip stitch in the indicated stitch or space. The picot stitch is great to use for edging a crochet project! The first picot stitch creates a wider looking stitch that is firmly attached to the crochet project.
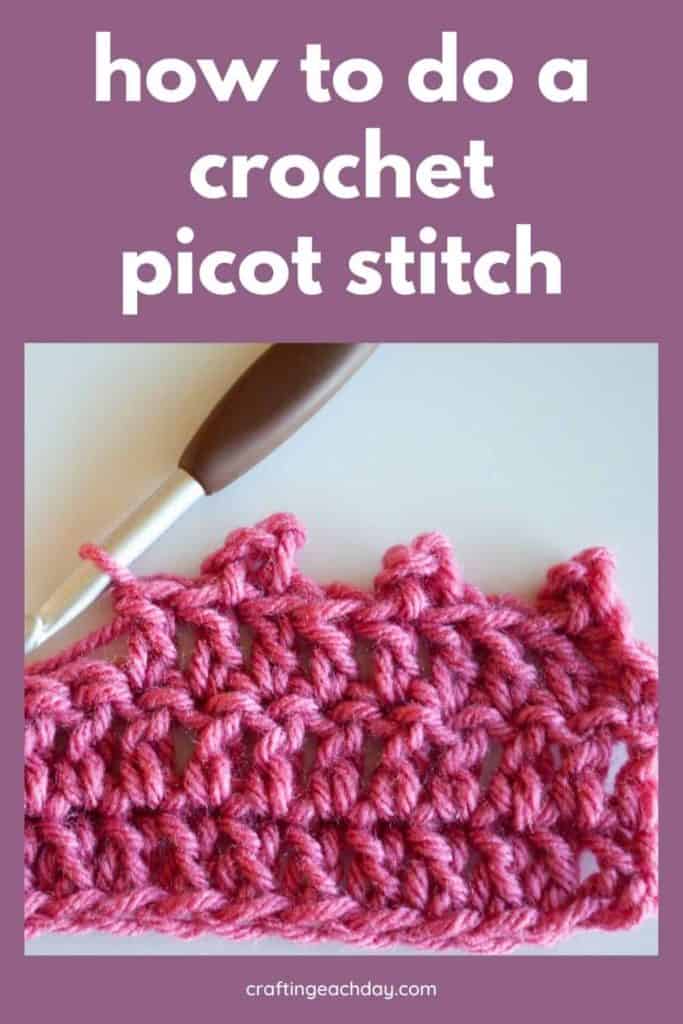
How to Crochet a Picot Stitch Crafting Each Day
How to crochet the picot stitch Here are the steps to crochet the basic picot stitch. Step 1: Chain three. Step 2: Insert hook into first chain. Step 3: Yarn over. Step 4: Pull yarn through. Step 5: Yarn over. Step 6: Pull yarn through both loops on hook. Step 7: Single crochet in next stitch.

How to Crochet the Picot Stitch
Method 1 - Slip Stitch. The most common method for picot stitches is to chain a number of stitches, then work a slip stitch in the first chain made. The usual number of chain stitches is 3 but can be any number. Usually, you'll work a slip stitch in the first chain you made but some patterns will require you to slip stitch somewhere else.

How to Crochet Picot Crochet Stitch Tutorial Nana's Crafty Home
A picot stitch is combination of chains and either slip stitches or single crochet stitches, crocheted together in a unique way to form a point in your work. Picots are commonly used to make a pretty finished edging on a project. They are a great way to spice up a simple edge because of their unique, pointed look!